
Setting a Rappel (Abseil) Rope

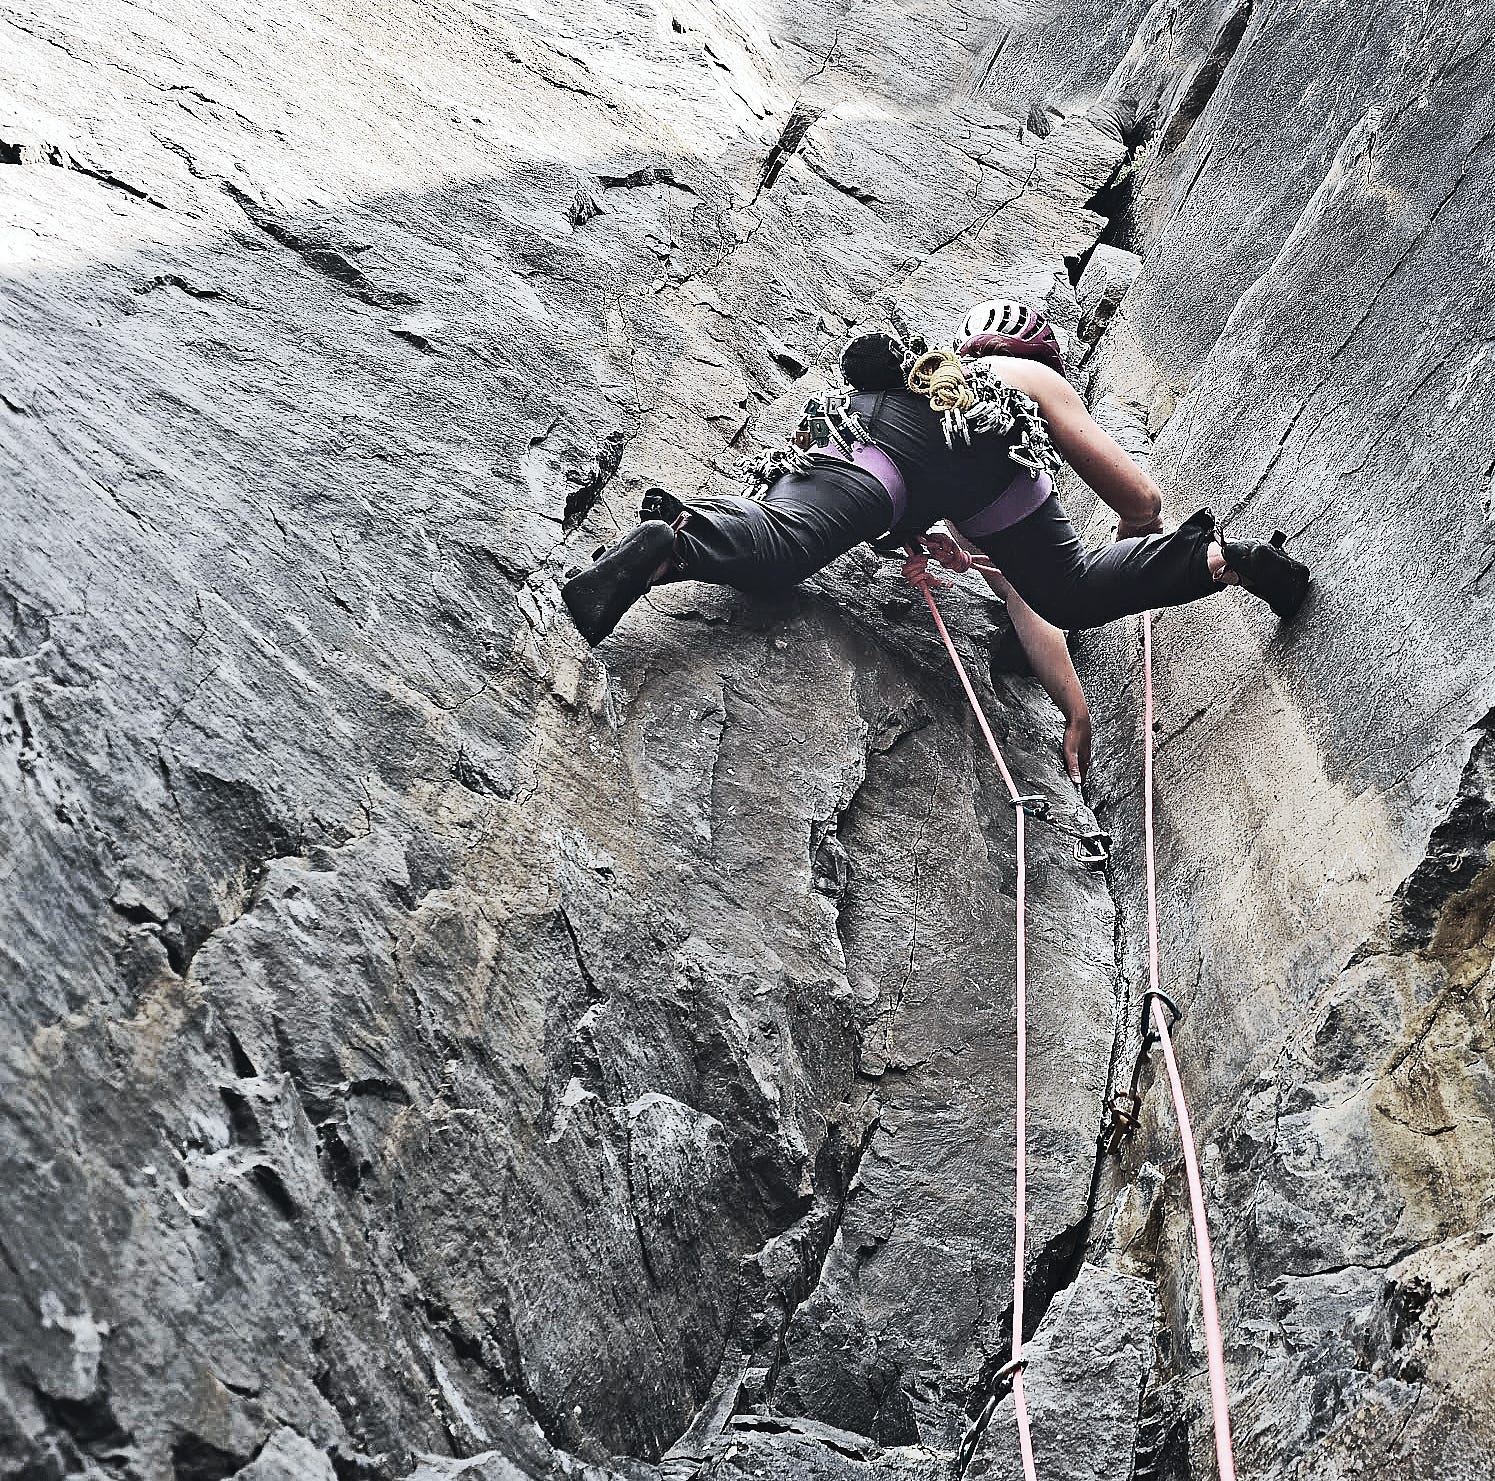
I was climbing on Cruit Island, Donegal, last week, a place well worth a visit, the rock being like granite gritstone, or “granite with acne” (free guidebook here). One morning, I came across a group of climbers setting up an abseil rope in order to access the bottom of a tidal sea cliff. They looked like they knew what they were doing, but what they were doing looked a bit like they didn’t. I asked if they wanted some suggestions, as I thought I had something to add, plus I also wanted to use their rope (and I didn’t trust it!).
The following interaction, where I gave a few tips, made me realise that although we’re often called upon or advised to “set up an abseil rope” on sea cliffs, it’s not something that comes naturally to climbers (unlike cavers). It’s not something you’re trained to do or a topic that people write about. And yet it’s a killer skill (get it wrong, and you could end up killing yourself, or worse, someone else). And so, I thought I’d quickly cover some of the things worth doing, knowing, or thinking about when setting an abseil rope.
Sniff Test
Perhaps I lack faith in my fellow man (and women), but whenever I come across anything “fixed”, I always give it a sniff test before trusting my life to it. If it stinks, I make my own arrangements. “Fixed” could be a nut, an old piton, an abseil rope, or a rope fixed for climbing up. The security of stuff, like pitons or fixed ropes for you to climb, is hard to judge. You might spot a broken eye, notice a fixed line has no necessary re-anchors, or get the whiff of something wrong, but fixed abseil ropes are easy to judge, as all the evidence of their quality is at the top. If the anchor is shit, you can almost guarantee the rope will be too short, in the wrong place, or dangling out in the crashing waves. By looking at the anchor points, and how they are equalised, and how the rope runs, you can instantly tell if the thing is to be trusted or not, as well as the person who set them.
So, if it smells, don’t use it, even if others already have.
Three Rap anchor types
In my experience, fix rap ropes, anchor and rope positioning, come in three flavours: solid and safe, but overbuilt (good), solid and safe (better), and gallows (bad).
An overbuilt anchor, say one with ten pieces of pro, each one good enough to hold a bus, and equalised with a 10mm static cordellete, and triple lockers, is ideal if you’re going to be hauling or lowering a stretcher, or bus, and might have to take a three-person load, but for a single climber, it’s overkill to build a 4500kg anchor for a 75kg load, mainly as it take up half your rack, as well as half an hour to build.
Also, there is sometimes some correlation between someone spending all their mental energy on secondary, or tertiary, stuff, and missing the fundamentals. A good example is making a ten-point anchor, perfectly equalised, but ending up having all the load on one point, and leaving it that way, as you can’t be arsed to change an hour's work. Another example would be an anchor that can take the load of twenty men, but just has the rope clipped in with a single, open, screwgate, that when loaded, sees the gate open as it’s pressed into the grass (I once saw a perfect belay, with several runners well equalised with a 240cm sling, but with the rope clipped into using just a quickdraw!).
If you are routinely building such mega anchors, or making daft errors, and feel scared by anything less than ten pieces, or just as scared anyway, then maybe you should educate yourself about the strength of your protection, your ropes, gear, and the rock. Do a trad climbing course, or ask a guide to do you a rigging course.
Often, the above issue is that many climbers never test the gear or the belays they make, and so have never developed the necessary skill in themselves or their gear. This is one of the great things about doing big walls, in that when you build a natural anchor, and then have three people hanging (or sleeping) on it, as well as haul a 100kg load (that’s 200kg+ loading), as well as aid off micro wires and beaks, it’s a boon for trust.
The ideal anchor is one that conforms to the "SERENE" standard (Solid, Equalised, Redundant, Efficient, and featuring No Extension), but only requires enough anchor points to achieve a solid anchor. It should not take up half your rack, and ideally, it should not take up any of your rack (bring extra for anchor building, like a set of Hexs and a set of nuts). Typically, such an anchor requires three or four pieces, maybe two, but rarely one (the key word in climbing safety should always be redundancy).
A gallows rap anchor is one where your asshole puckers up as you go over the edge, and where you breathe a sigh of relief when your feet touch the ground (and when your partner joins you). It’s a fingers-crossed anchor, one you’d never fully trust to hold you as you climb back up the rope, but instead forces you to take your chances with the sea and swim for it. This is a rappel version of the bad belay anchor, the kind you advise the leader (or follower) not to fall. Such an anchor can be materially bad, a time bomb anchor, and so that feeling of doom is real, but it might also be good, and you just lack confidence. But both need action.
To be fair to Gallows anchor builders, although there are countless ways that rappelling climbers kill themselves or fuck up, I don’t remember anyone having a fixed rappel rope fail on them (but I do know lots of fixed-rope accidents and deaths, just not anchor-related).
How strong does the anchor need to be?
The reason why climbers often get away with subpar fixed rappel anchors is that the loads are generally low on such an anchor, as they’re most often set away from a cliff edge, meaning part of the load is taken by the cliff edge itself (if you were to haul, this ratio would be reversed). I think people instinctively know this, as once they’re “over the edge”, they tend to relax a little as the peak load has passed.
Of course, this is unacceptable. All anchors must be unquestionably strong.
Although it’s impossible to check the strength of your rap anchor, you should always build one with a worst-case scenario in mind, which in this case would be two heavyweight climbers (2 x 100kg) on the rope at the same time (a self-rescue, or one climber hauling up the other), or one or two climbers hauling up an injured climber (a true ‘rescue’ anchor). Strength-wise, you’d take the max load, which would be hauling someone up, which would be a force between 300kg and 600kg, and double it, plus a bit, giving you a 1500kg (or 15kN) anchor (theoretically).
A rescue anchor is typically designed to hold such a 15kN load, or even 30kN (two 15kN anchors for redundancy), but such figures are for climbing theorists. If you consider a DMM Wallnut 5 will break at around 12kN, a Torque nut at 14kN, Camalot 2 at 12kN, and a 7mm cordelette at 10kn to 20kn, and your anchor has 3 solid pieces, and they conform to the SERENE standard, then you have a 15kN (or greater) anchor. Even if one fails, or your equalisation is off, you’re still good; add another piece, and you’re double good.
A good way to have confidence in such an anchor is to imagine that each piece is its own solo anchor, that nut, or cam, or hex, strong enough alone to hold two people, or more (becouse it is). Every piece should be placed perfectly and yank-tested or bounce-tested, so your brain knows each piece is its own anchor. Then you tie them all together to make one master anchor with your cordelette or rigging rope.
One reason why some people go for poor, gallows anchors is that they’re used to going off single-point rappel anchors, like old tat or a sling on a spike, the kind of anchor that can only hold bodyweight (or not even that). If you ask such people to build you a solid climbing anchor for a hanging belay, they could probably do a good job at it, and they just fail to understand that an abseil rope anchor is just a climbing anchor with a rope attached.
Down rope is your up rope
When setting up your abseil rope, try to factor in that it could well end up as your up rope as well, especially if you’re doing exploratory climbing. Maybe it’s just me, but if I know that I might not only spend 30 seconds on a rope, but also 30 minutes (or longer) climbing it, then I might take a little longer to make it extra good.
If you suspect you might have to climb an abseil rope, then make sure everyone has the tools to do so (two Prusik loops don’t count!), and know how to do it (good wet weather day training). You can sometimes lower down a set of ascenders and footloops to your partner once at the top, but Murphy's law dictates you won’t be able to, so everyone needs their own rope climbing tools (a set of Ropemen, tiblocs or Kong Ducks for example).
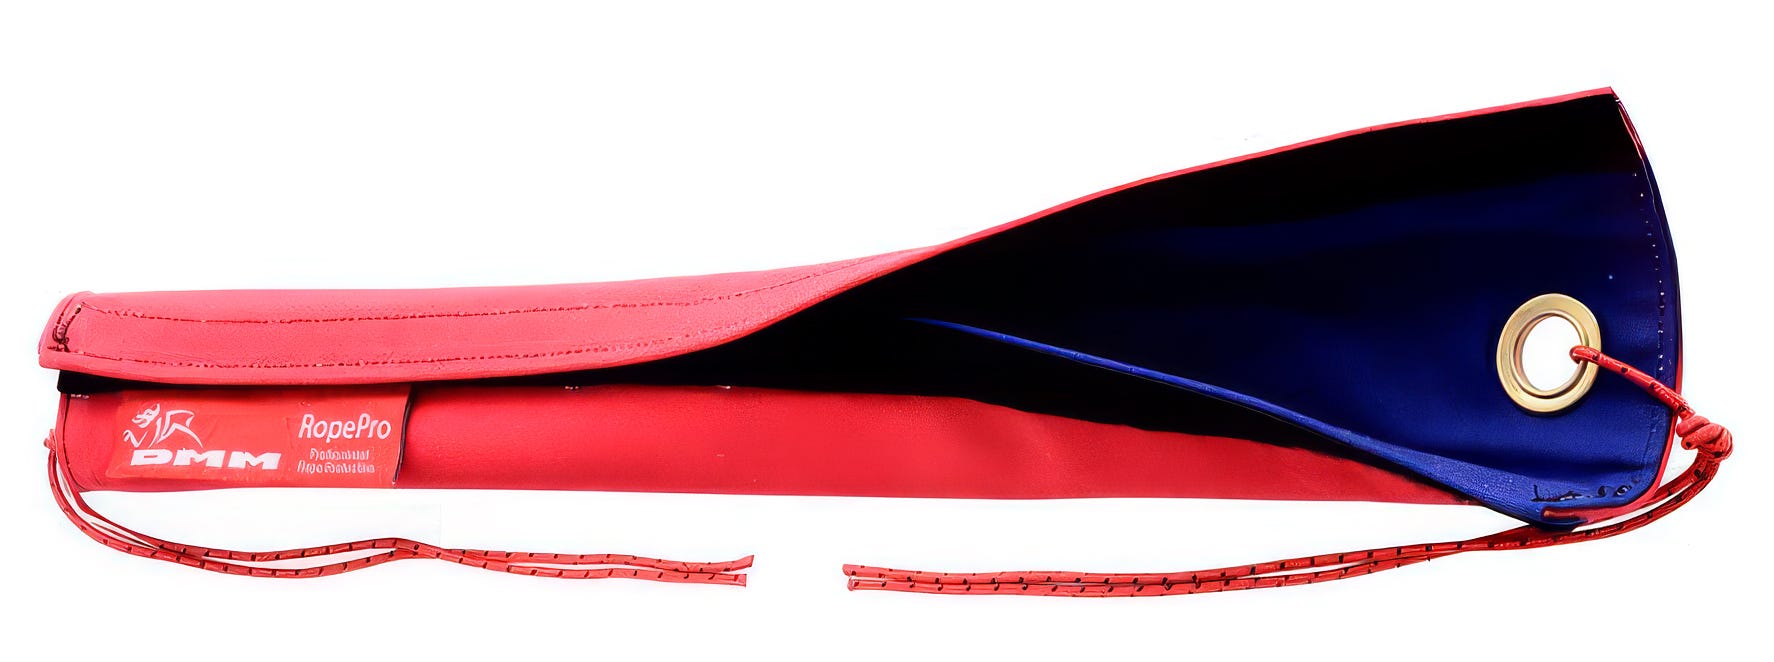
If rappelling over a rocky lip, then the last person down should attach a rope protector on the rope, but (personally), I think rope protectors are overkill for two or three people rappelling down the rope (the real damage - the sawing - is done when ascending).
One last note about ascent is that the first person down any fixed abseil rope should be equipped to come back up again if there’s an issue, most likely that the rope is in the wrong place. You should never be in a situation where the first person has no option but to commit and end up in ‘Deadman’s Zawn’, and for everyone else to join them there.
Cordelette versus Rope
Although you set up a solid equalised anchor using one end of your rope (my favourite is to just use it like a cordelette), or slings or regular 6 metre 7mm cordelette, I think it’s better to use a ‘super’ cordelette for such anchor building, a 20 metre length of low-stretch rope that’s full strength (12 kN) even as a single strand. This could be 8mm Perlon or an offcut of static rope (8mm to 11mm).
The length of the super cordelette, as well as its strength, allows you to piece together distant solid pieces, rather than being forced to make do with smaller ones. It also allows you to hitch the rope around very large features, like caravan-sized boulders or boulder-sized caravans.
What rope?
If you want to set abseil ropes on cliffs, the only practical option is to use static ropes, as these will last you a very long time and provide far more security and deathproofing than climbing ropes (unlike climbing ropes, they’re made for rappelling and ascending).
Diameter-wise, 10mm or 10.5mm are ideal, and an extra-long rope (70m or 80m) is nice to have, as you can cut away damaged ends and have extra for setting up complex anchors (you might only be going over 50-metre cliffs, but the anchor might be 20 metres back from the edge).
If using other people’s ropes, say someone lends you one, measure it with your arms before casting it over the edge (average arm span is about 1.5m), as well as check for damage. I know one person who borrowed a 100 metre rope, stowed in a rope bag, only to find, while rappelling on it, it was actually two 50 metre ropes (he rappelled off the end, but survived).
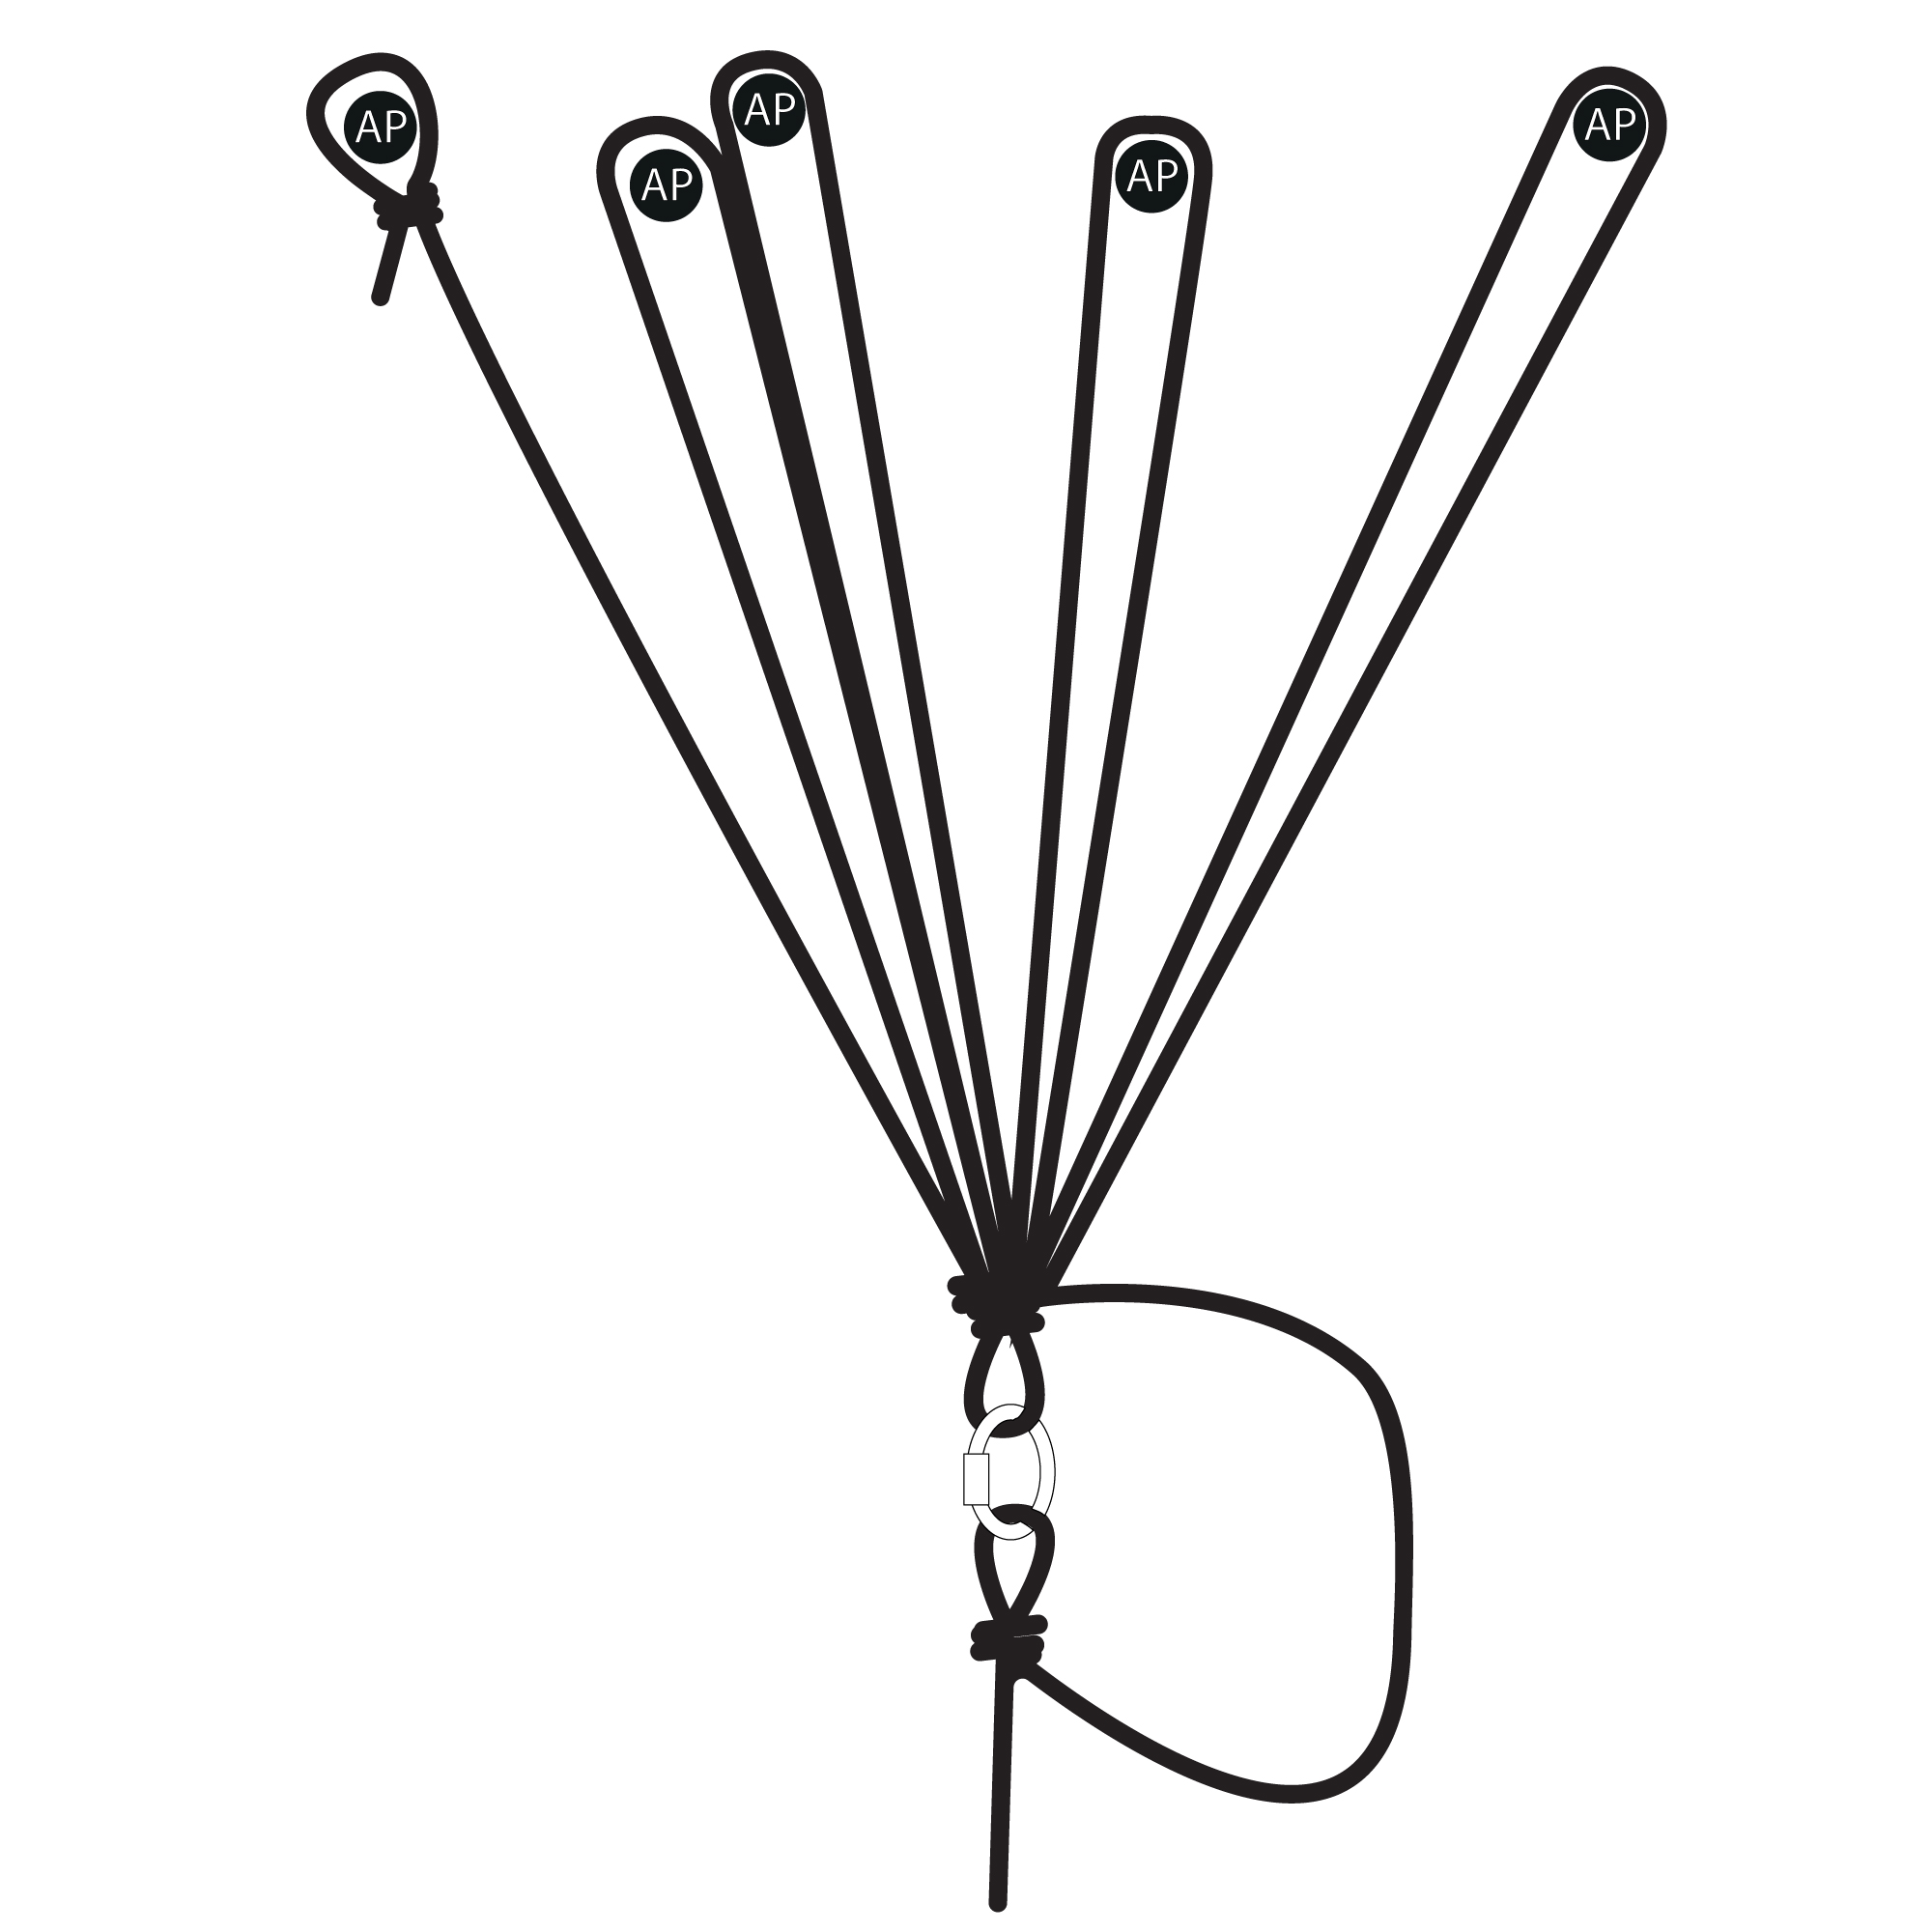
E in Equalised
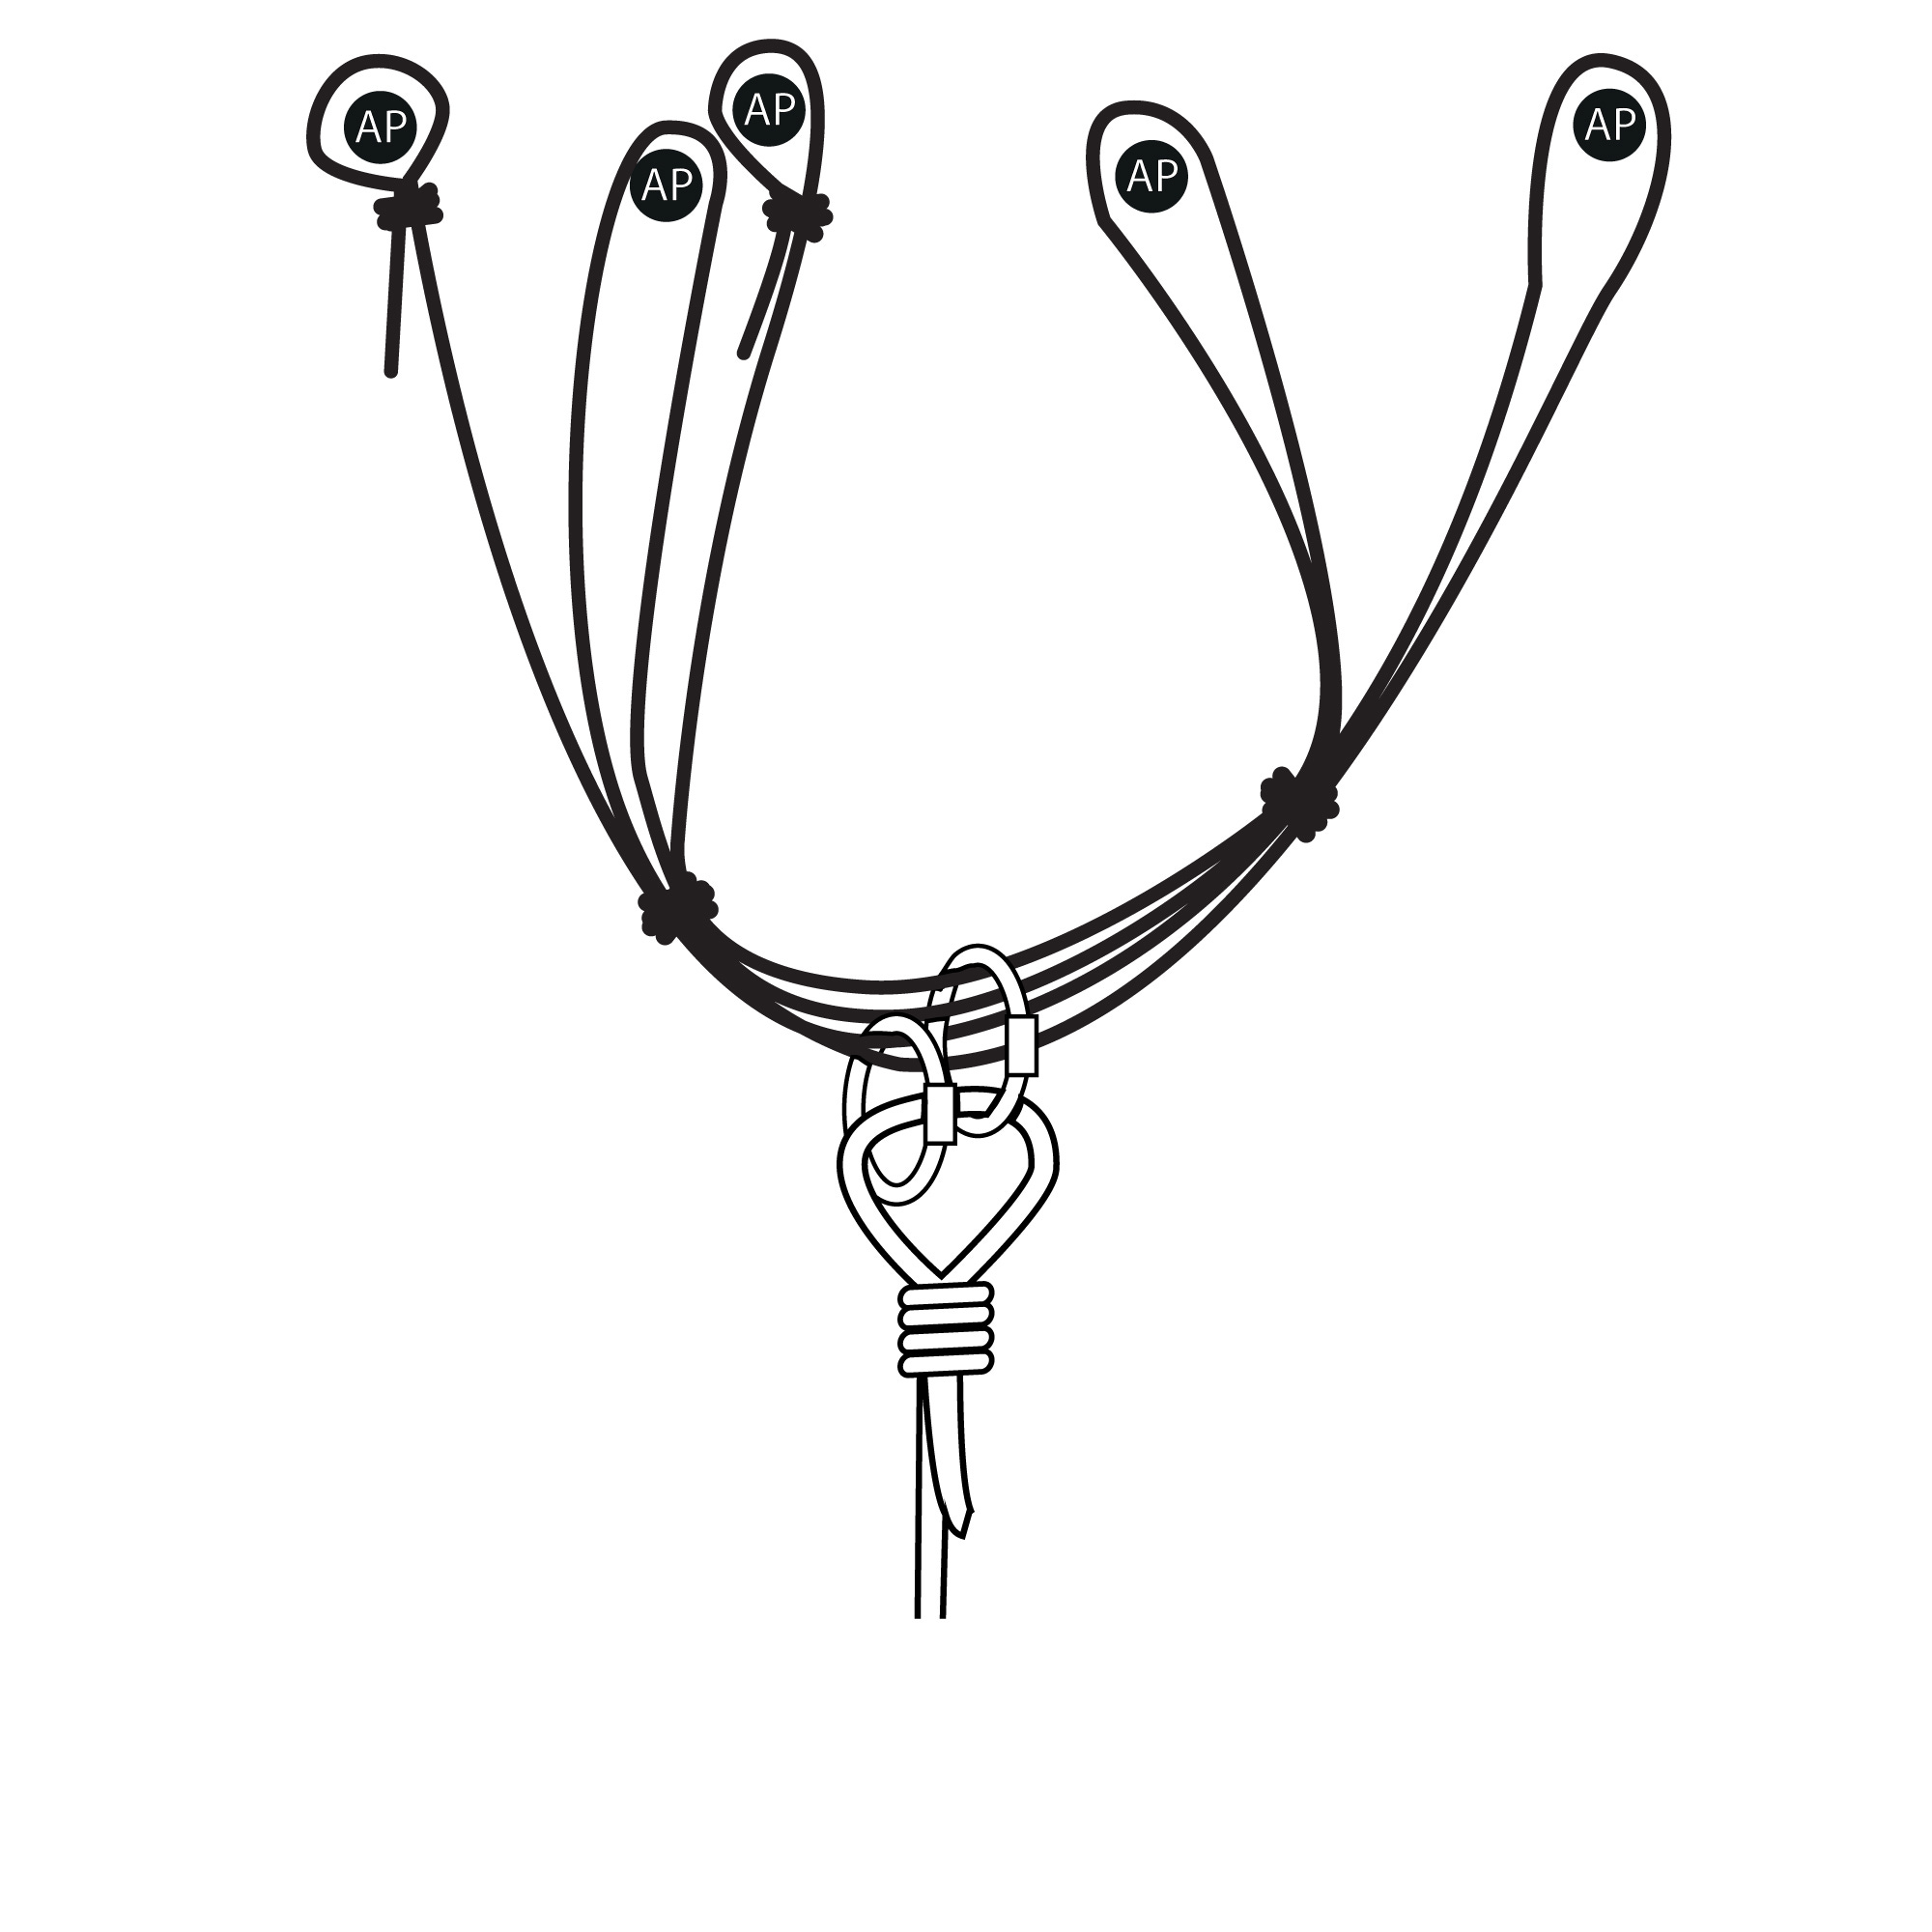
One important aspect of having a good equalised anchor, as well as having solid anchor points for when it’s not, is that it is the actual, not the imagined, rope path. You might think you know the direction of pull on the anchor when loaded, but often the load comes on counter to your expectations, something just out of sight making you make a major change in direction. You may think the ropes are going one way, but a few metres down, you may find they’re going another.
You should factor this into your anchor points (if all your protection starts to pop as the pull shifts by 20 degrees, that’s not good), but the biggest factor is to allow some play in your cordelette’s master point. This is best done by building a ‘Quad’ style anchor with your cordelette, allowing your abseil rope to self-adjust (this may break the “no extension” rule, but it may be necessary).
Recon
Before you commit to fully setting up your rappel rope, you should check you’re in the correct spot (not always easy). Most guidebooks show the cliff from the sea, not from the land, so finding the correct spot can often be very hard. I’ve done many a rappel into some route, only to find that the route isn’t there but somewhere else.
Like getting lost with a map and compass, being where you think you are has nothing to do with hope or trying to make the world around you fit where you want things to be. One tool that can come in handy is Google Maps in satellite view, often showing you where trails lead down to the correct entry point.
Sometimes, finding the correct spot is just a case of walking to the edge, but often it’s not that simple or safe.
Loose ground, wet grass, slick rock boots, gritty slabs, bird shit, there are many ways you can take a terminal tumble. So it’s a good idea to have some clue that you’re in the right place without risking your life, and then, once the rope is fixed, use it to get a better view.
The best sign that you’re not in the right spot on a popular crag is the lack of an easy anchor, the reason why people rappel from this point. Are the placements dirty, loose, cracked, or filled with dirt? A well-used anchor, one used over decades, should offer you textbook placements, clean and well-worn in. Is the area where the anchor has to be built well-trodden?
Getting the rope down
Getting the rope down to where it has to go can be a matter of just casting it down (the ‘rope bomb’ is a good method), or the first person down can carry it in a rope bag or sandle it, so they keep control of it all the way.
Make sure your rope has a knot in the end, and everyone has a friction hitch back up and helmet.
At the base
If possible, avoid standing at the base of the descent, as displaced rocks have a nasty habit of seeking out waiting climbers. If you have to wait, wear a helmet.
If you have to make a hanging belay, you can integrate the abseil rope into this, just remember to remove any knots from it when you leave.
Who goes first?
The most experienced climber should go first, as they’re most able to make the call that the rope is correct, and also potentially set up a hanging belay at the bottom of the cliff.
Comms
I used to think taking stuff like Walkie Talkies on a crag was just what Americans did, daft, like their incessant wooping and performative Instagram dancing, but it only took one El Cap route (Native Son A4), strung out on the crux, in the dark, around a corner, to make me realise they were game-changing. The ability to tell someone, sixty metres away, but could be 600, what’s going on, gives you a huge safety advantage. Once you’ve used a walkie-talkie, it’s hard to go back to shouting at the wall.
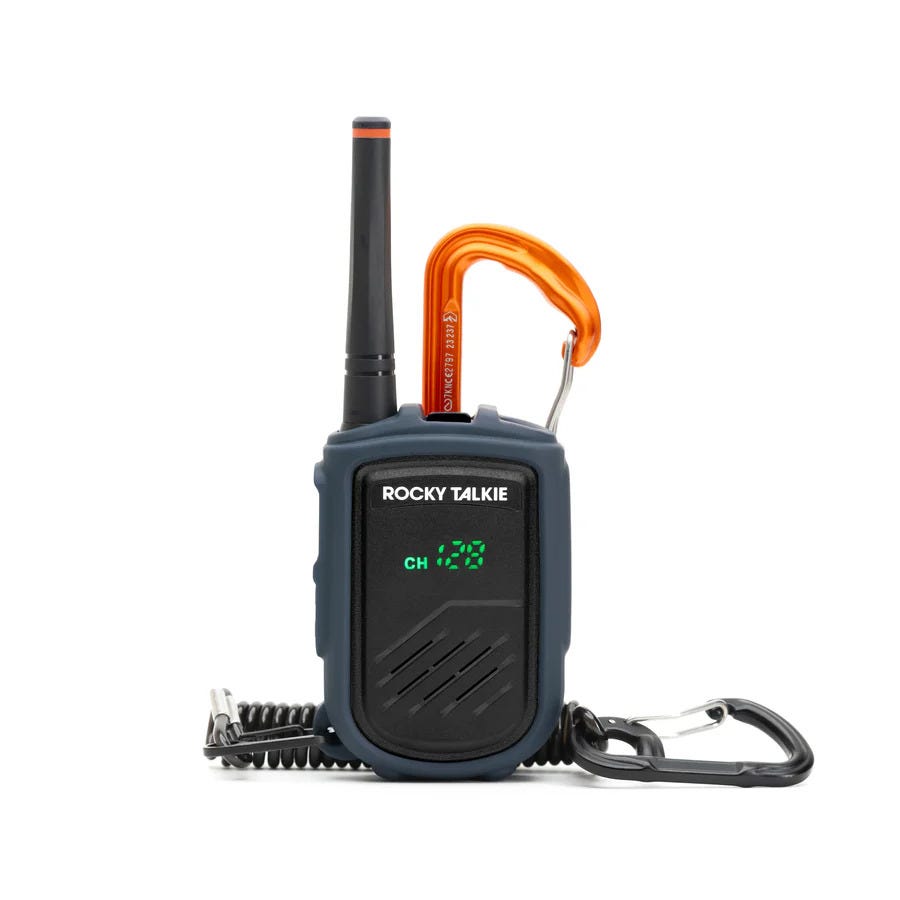
If you use a normal radio, make sure it has a functional clip-in point, and tape up the battery cover (they always fall off and get lost, along with the battery), or just invest in some dedicated climbing radios, like the Rockie Talkie.
Salt Water
A question that will pop into your head while climbing at any sea cliff, as the waves wash over your nice new static rope, is: does salt water damage your rope?
The answer is no, not in the short term, but it might in the long term, only not in such a way that will be terminal (climbing ropes are different). The biggest factor is that things that are salty dry slowly and soak up moisture faster. The salt crystals will also make your rope stiffer. For this reason, you should try to soak your static rope in the bath or shower, or a big bucket, once a year to wash out the salt.
Retrieving your rope
Once you’re back up to the top of your climb, you’ll have to pull up the abseil rope. This means the far end, the bottom, has to be left in such a way that it’s not a big knotty mess, or has not been allowed to be dragged out to sea by Poseidon.
Ideally, you will rappel down to a level above the high water mark, and so your rope can be left neat and high and dry. Perhaps you know the distance well enough that you can have it fine-tuned, so you don’t have ten metres of free rope at the bottom (the first person down could communicate for the rope to be adjusted for this once down).
If you’re forced to abandon a rope, or part of a rope, then it’s worth contacting the local coast guard by phone, just to tell them the location, as such things are often reported as potential incidents by members of the public.
A small 2-cents (I'm a shit climber, but an engineer). Something I think Andy was hinting at above (?) - but I find is often non-obvious/non-intuitive to most people: If you use e.g. a single pulley at the anchor for a single/simple "redirect", you immediately DOUBLE the load on the anchor. E.g. imagine you have a pulley at the anchor, your 100kg haul bag is hanging from a rope whoch goes over the pulley and you are pulling down with 100kg force on the other strand to lift your bag. Since both strands of rope each carry a tension of 100kg, the anchor is feeling 200kg of pull. This is true even though there is zero mechanical advantage involved. Apologies if this seems blindingly obvious - but I noticed it is not obvious to many people (including engineering students, and sometimes professional rope/rigger type people also). If you add further pulleys for mechanical advantage, the anchor can* start experiencing triple (or more) whatever force you are actually pulling on your end with. *Depending how you set it up - there are other ways of setting things up with pulleys which don't increase the load in this way - and leave the anchor only carrying the original 100kg of your haul bag. I'm not too sure how much this concept gets discussed/taught in climbing circles...